Prices shown exclude VAT and may vary depending on finishing options.
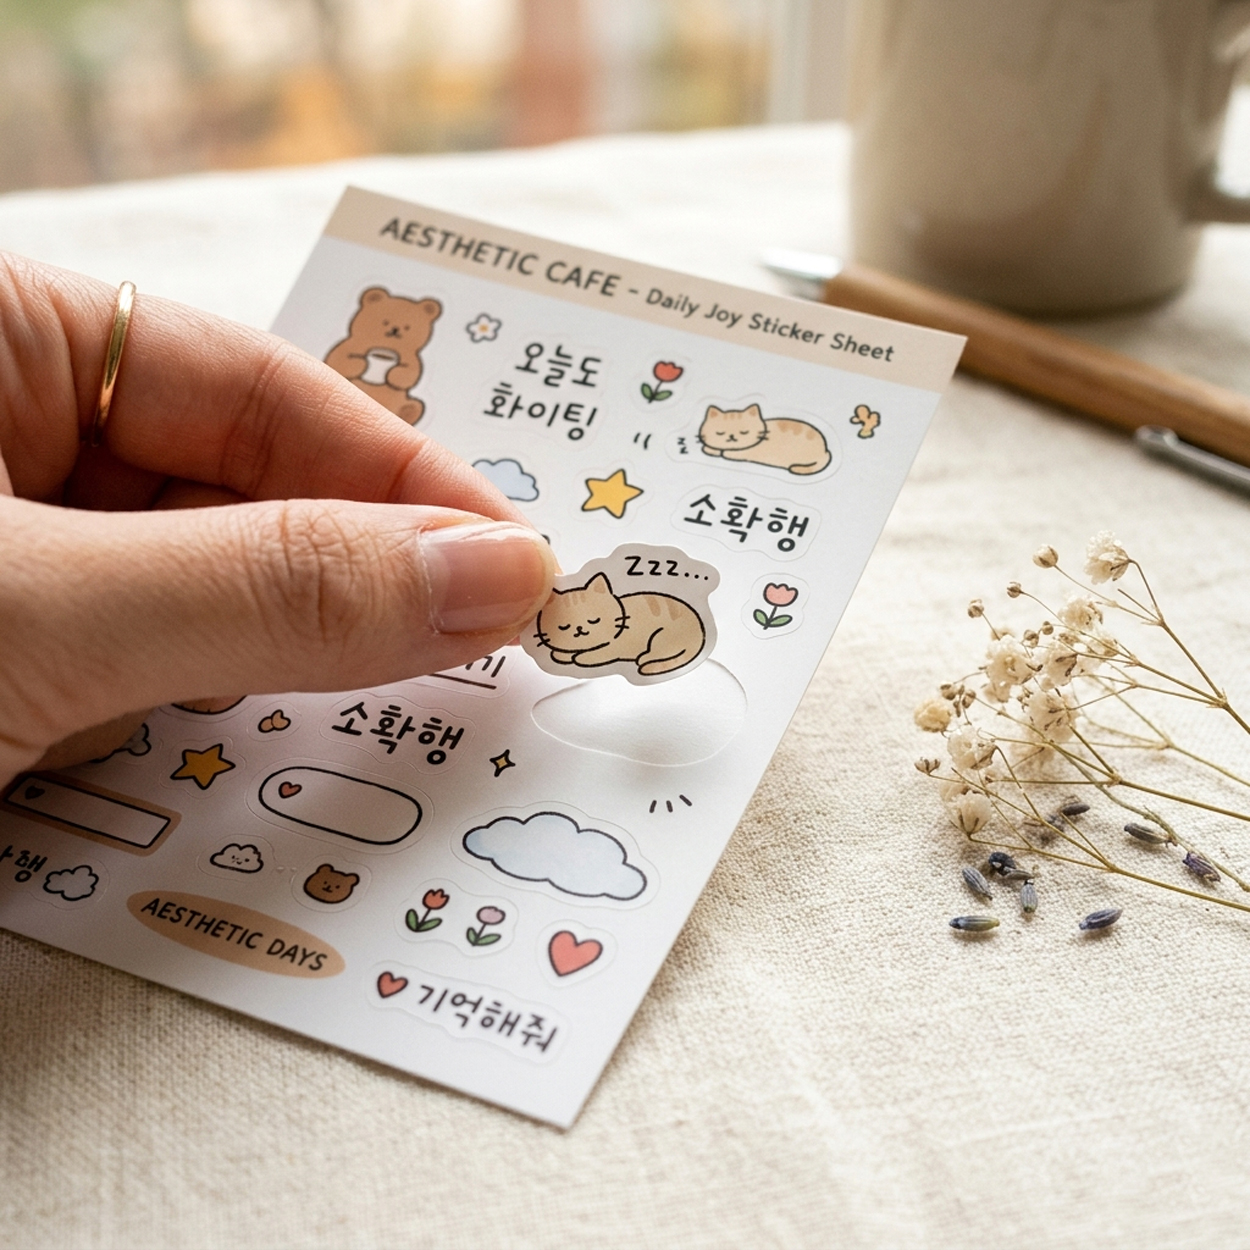
Sticker Printing
Stickers available in a wide range of materials and shapes. Choose from art paper, Yupo (waterproof), clear (waterproof), matte silver (waterproof), kraft, and more — all available in various shapes.
Food Packaging Label
Custom labels for food packaging. Synthetic materials resistant to frozen and refrigerated storage conditions.
For food labels, synthetic paper maintains both adhesion and print quality even in refrigerated and frozen environments. It suits foods that must be kept cold, like jam, sauce, and yogurt.
An uncoated finish lets the paper's natural texture come through. Woodfree and rough-gloss premium stocks absorb ink well, so stamping and handwriting stay clean.
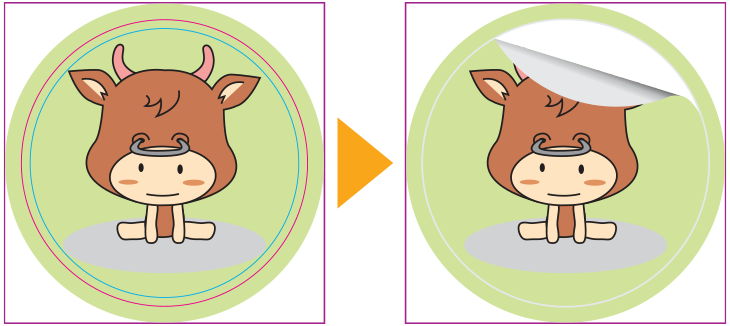
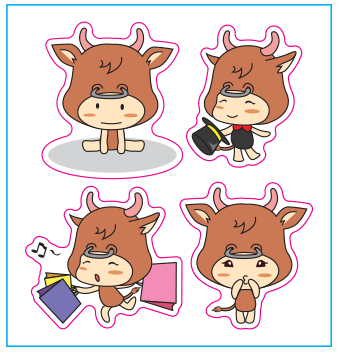
Circle cut removes hard corners so round logos and character designs blend naturally into the shape.
About PVC 120g
PVC sticker material. Excellent durability for long-term use labels.
Best For
Durable labels, long-term stickers
Circle Kiss-Cut
Circle-shaped kiss-cut stickers. Easy to peel from the backing sheet.
Finishing Options
Uncoated — A natural finish that highlights the material's own texture — no coating applied.
Natural texture, authentic paper feel
You can view detailed coating options on the order page.
Embossing — When a logo is embossed onto a pearl-tinted sticker, the raised face glints all the more brightly with every shift in light. Even on a small label, pearl sheen and dimension travel together, separating it from plain printed labels by a clear class.
Spot UV (Epoxy) — Adding spot UV over a pearl surface lets a metallic base and a crisp shine share the same face. Small as the sticker is, the raised gloss makes itself felt the instant fingers touch it.
For sealed food packaging only. Not intended for direct food contact use.
How to Prepare Your Files
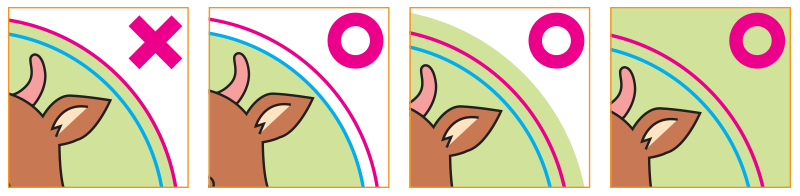
Safety ZoneDie Line SizeTrim Size
Die Line SizeThe size when the sticker is peeled off. The die line must be created as a stroke (not a fill).
Safety ZoneKeep at least 2mm (0.08 inch) inside the die line on all sides.
Trim SizeThe size that is trimmed larger than the die line.
Extend the design 3mm (0.12 inch) beyond the trim size.
Tip. Use "Exact-Size Cut" to adjust the distance between the die line and trim size.
(See "Cutting Guide" below for details.)
Use "Custom Size" to enter your desired size.
Keep at least 2mm (0.08 inch) between the die line and safety zone.
Keep at least 3mm (0.12 inch) between the bleed and die line. More bleed is always better. More is better than less.
ExampleOrder Sticker Die Line Size: 60 × 60mm
Keep at least 3mm (0.12 inch) bleed beyond the die line on all sides.
→ Bleed area: 66×66mm (2.60×2.60 inch)
→ Safety zone: 56×56mm (2.20×2.20 inch) (2mm margin per side)
▲ Do not work at 1:1 with the die line. Keep at least 3mm (0.12 inch) margin inside and outside the die line. You may extend more on the outside.
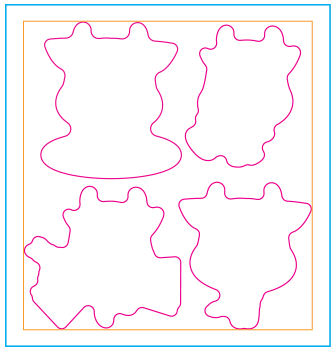
Multiple Die Lines
Order Size (Die Line Size)
Result
▲ Enter the total die line size covering all die lines. Refer to the orange line in the image above.
▲ Minimum distance between die lines must be at least 5mm (0.20 inch).
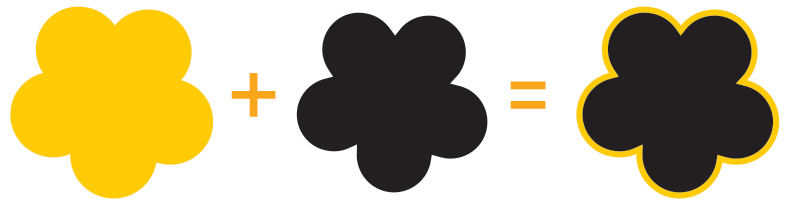
▲ If there is a background color, extend it at least 2.5mm (0.10 inch) beyond the die line on each side.
▲ When submitting files, separate the print layer and die line layer (use layers or artboards). Match print and die line positions at 1:1 scale.
White Ink Printing Setup
4-Color (CMYK) PrintingWhite Ink PrintingCMYK + White Ink
▲ The white ink area should be 0.2mm (0.01 inch) smaller than the CMYK area, created at K100%.
▲ If CMYK and white ink areas are 1:1, registration shift may cause slight white ink overflow.
▲ Separate the CMYK and white ink layers. Submit in order: CMYK first, then white ink.
You can find more detailed guides on coating, finishing, and other options on the order page.